Excalibur Scenarios Manual for Administrators
Introduction
This document is like a pilot manual. It describes step by step how to use Excalibur, how to register an account, login, logout, actions in Dashboard interface, and how to use Excalibur application on mobile phone. The PAM section is an optional item for customers.
Excalibur Application
For full use of Excalibur, you need to have Excalibur Enterprise installed on your phone. The application is available for Android and iOS mobile platforms that can be downloaded from Google Play and Apple Store. Supported versions of mobile platform are Android 5.0 and up and iOS 9 and up. Recommended version of Android is Android 6.0 due to fingerprint support.
Open your mobile browser / Chrome, Safari, Opera, etc. / and type www.getexcalibur.com, scroll down and click on required platform you will be automatically redirected to Google Play or Apple Store to download the latest version of Excalibur application, or open store, find Excalibur application and install it.
Installation of Excalibur application
How to install application from web browser
- Type to browser www.getexcalibur.com
- Select required platform
- Click on “Install” button and install application
- Click on “Open” button to run application

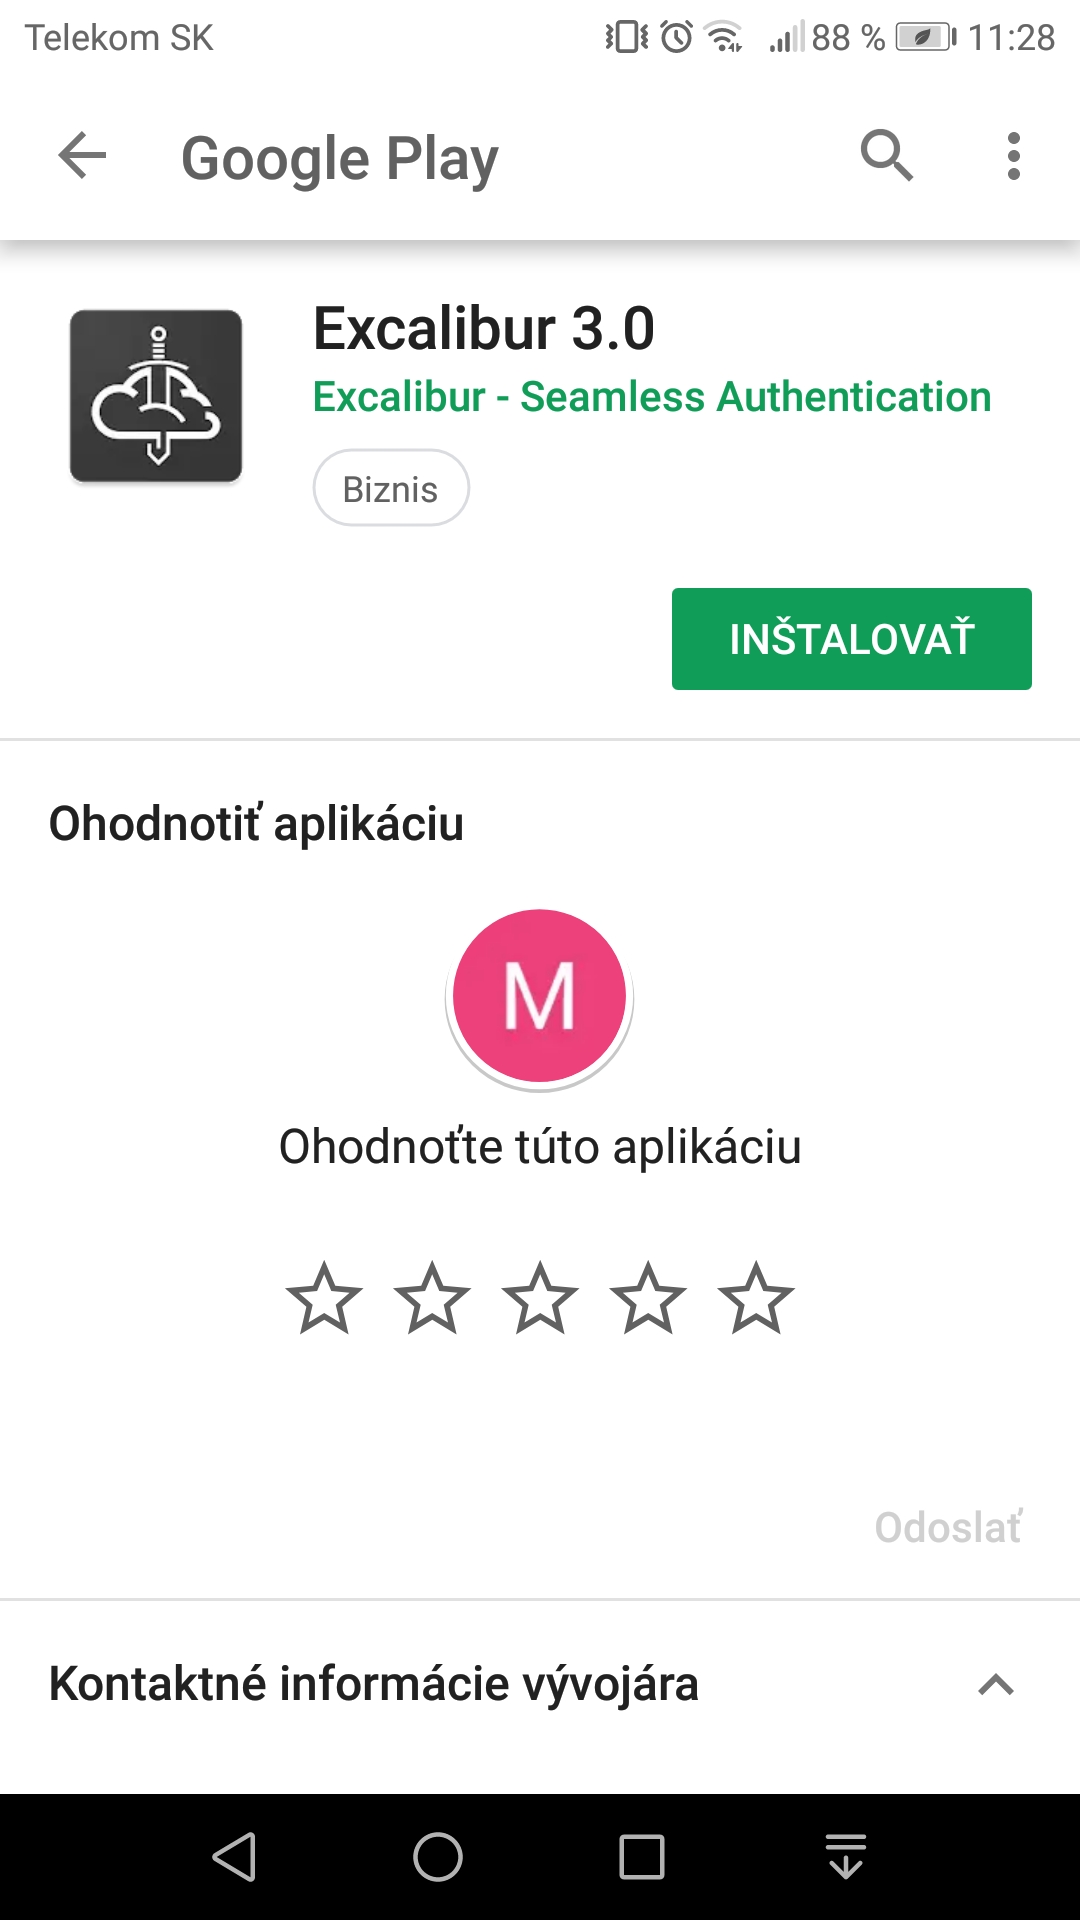

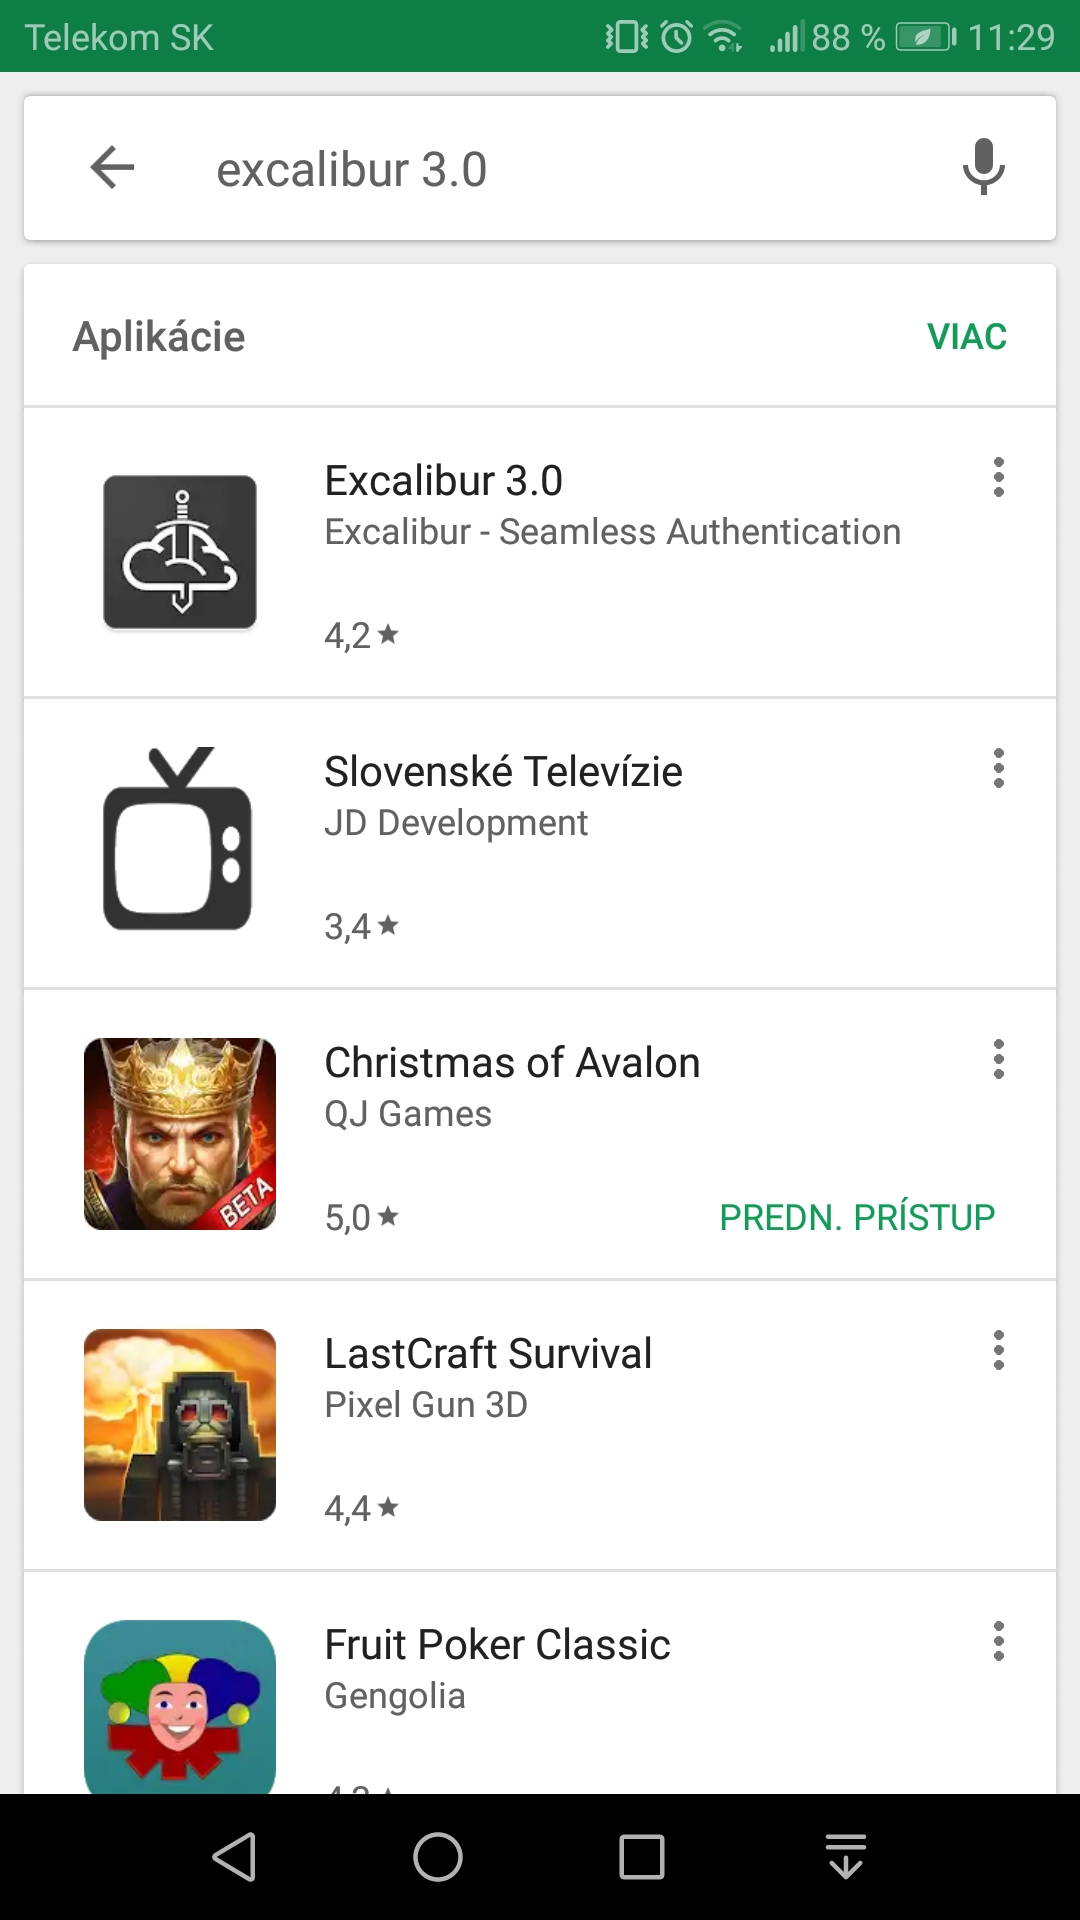
How to install application from market
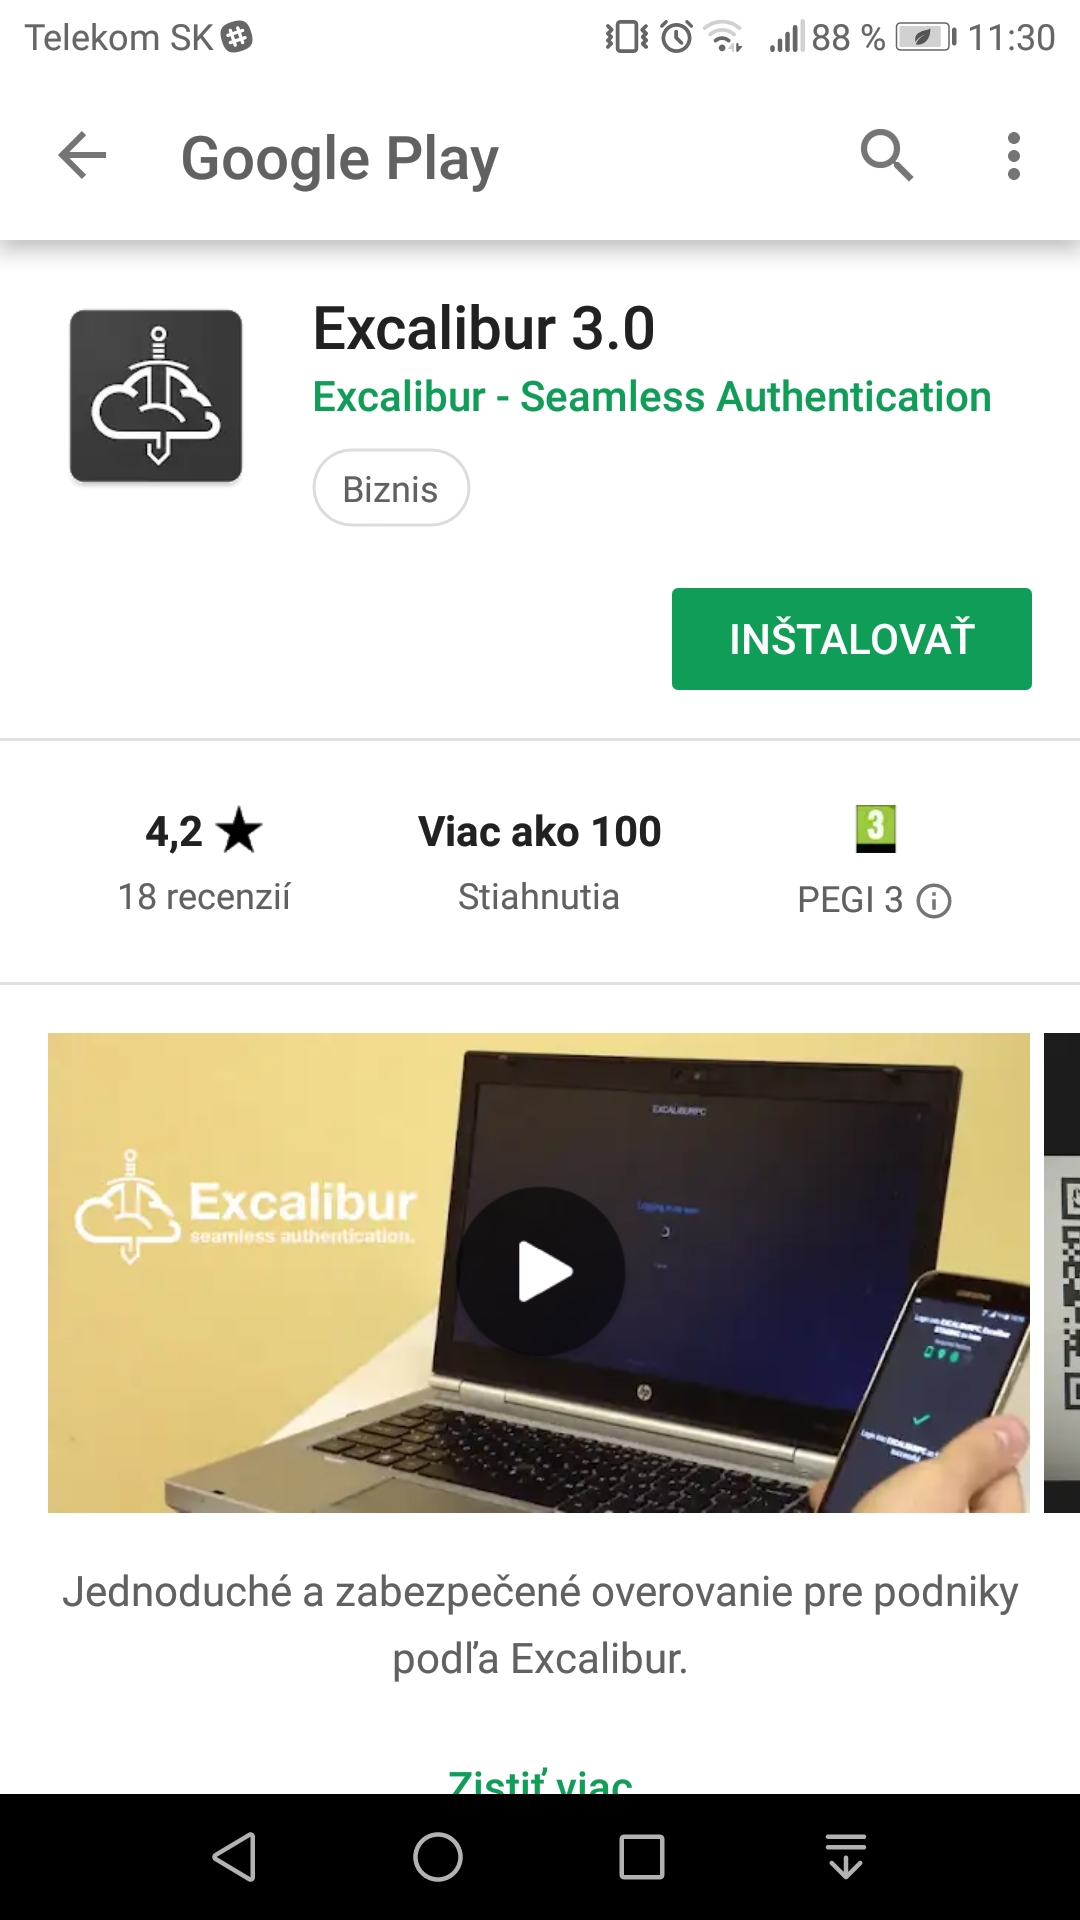
- Run market /Google Play, Apple store/ and find Excalibur 3.0 application
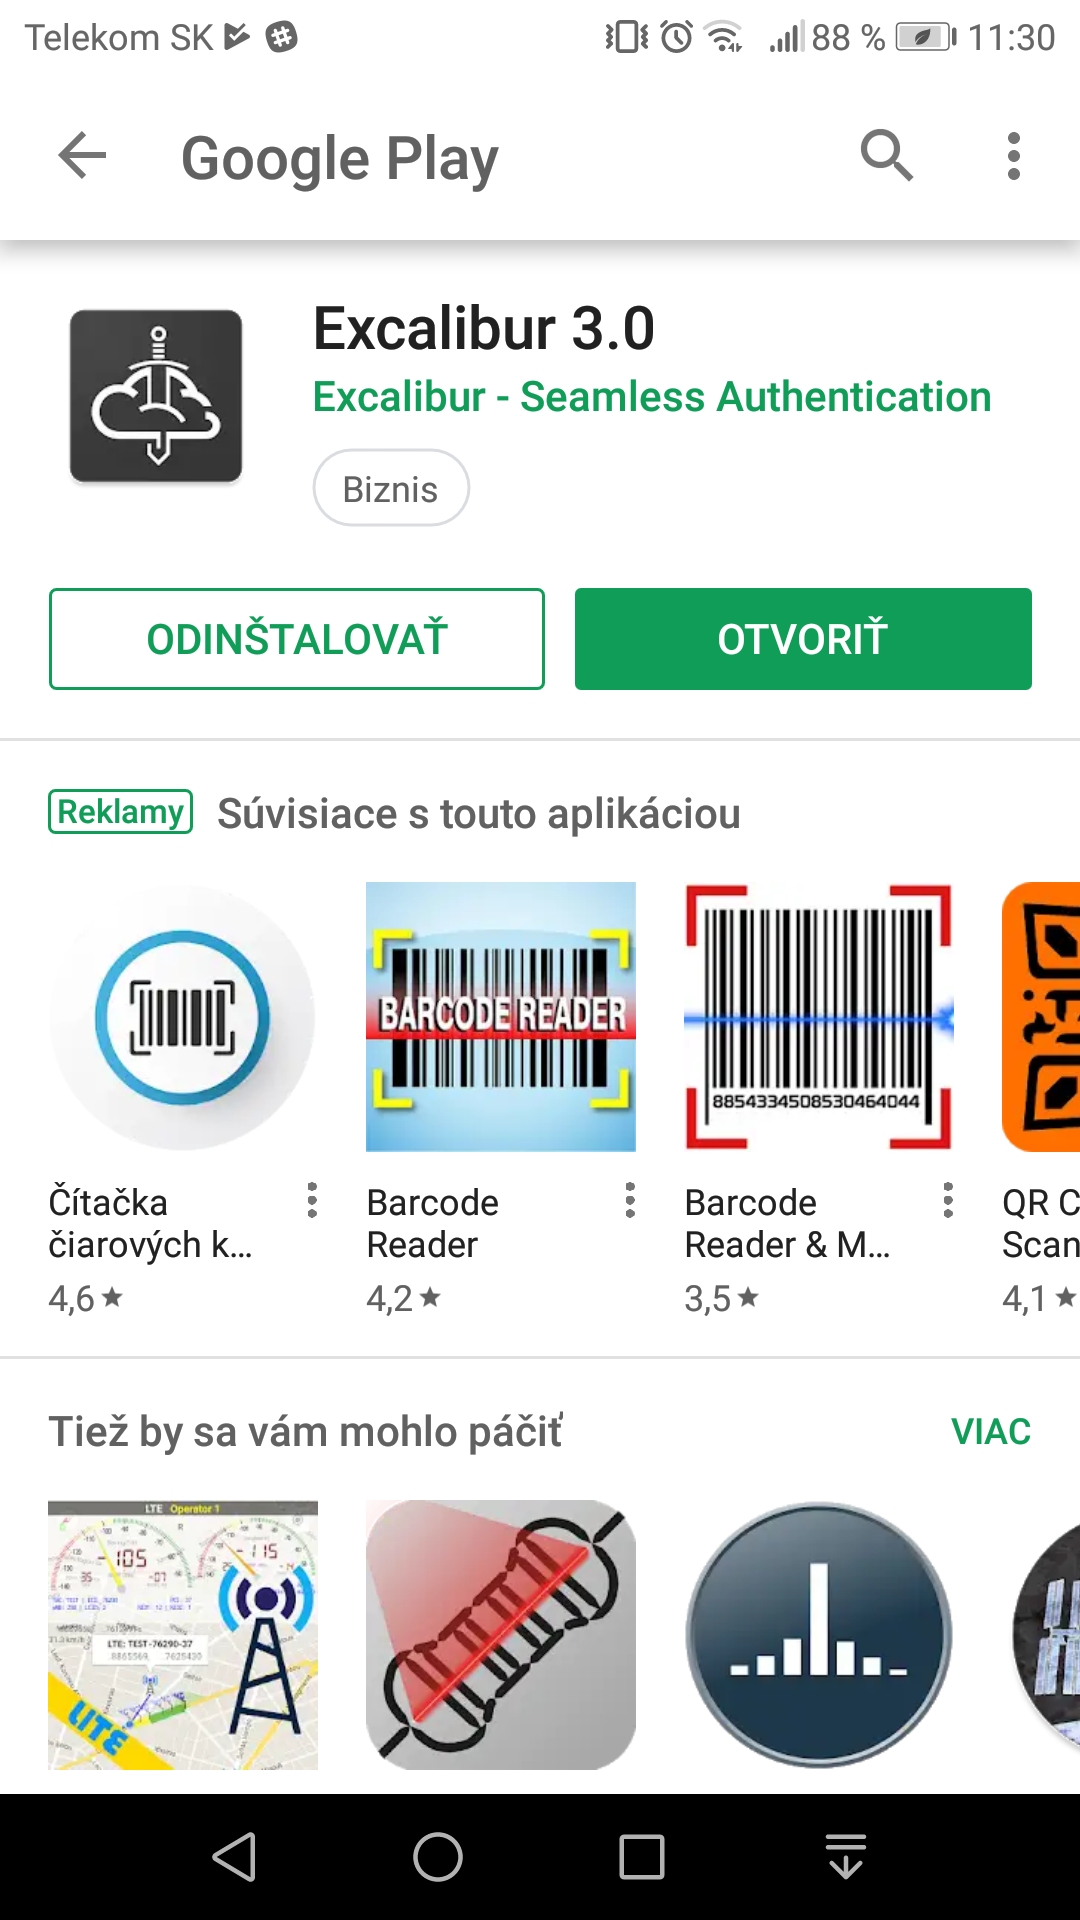
- Click on “Install” button and install application
- Click on “Open” button to run application
Run and initialization of application
Attention
After installation, it is necessary to initialize mobile phone /token/ for Excalibur.
How to run and initialize Excalibur application
- Click on Excalibur icon to run application on mobile phone.
- You will be asked to allow the camera usage to Excalibur application. Allow it
- Click on “Register” button on Excalibur CPUI /PC Client/.
- Click on “Next” button
- Type in username and password and confirm by “Register” button
- Scan registration QR code from PC client
- Confirm registration
- You will be asked to allow the position usage to Excalibur application. Allow it
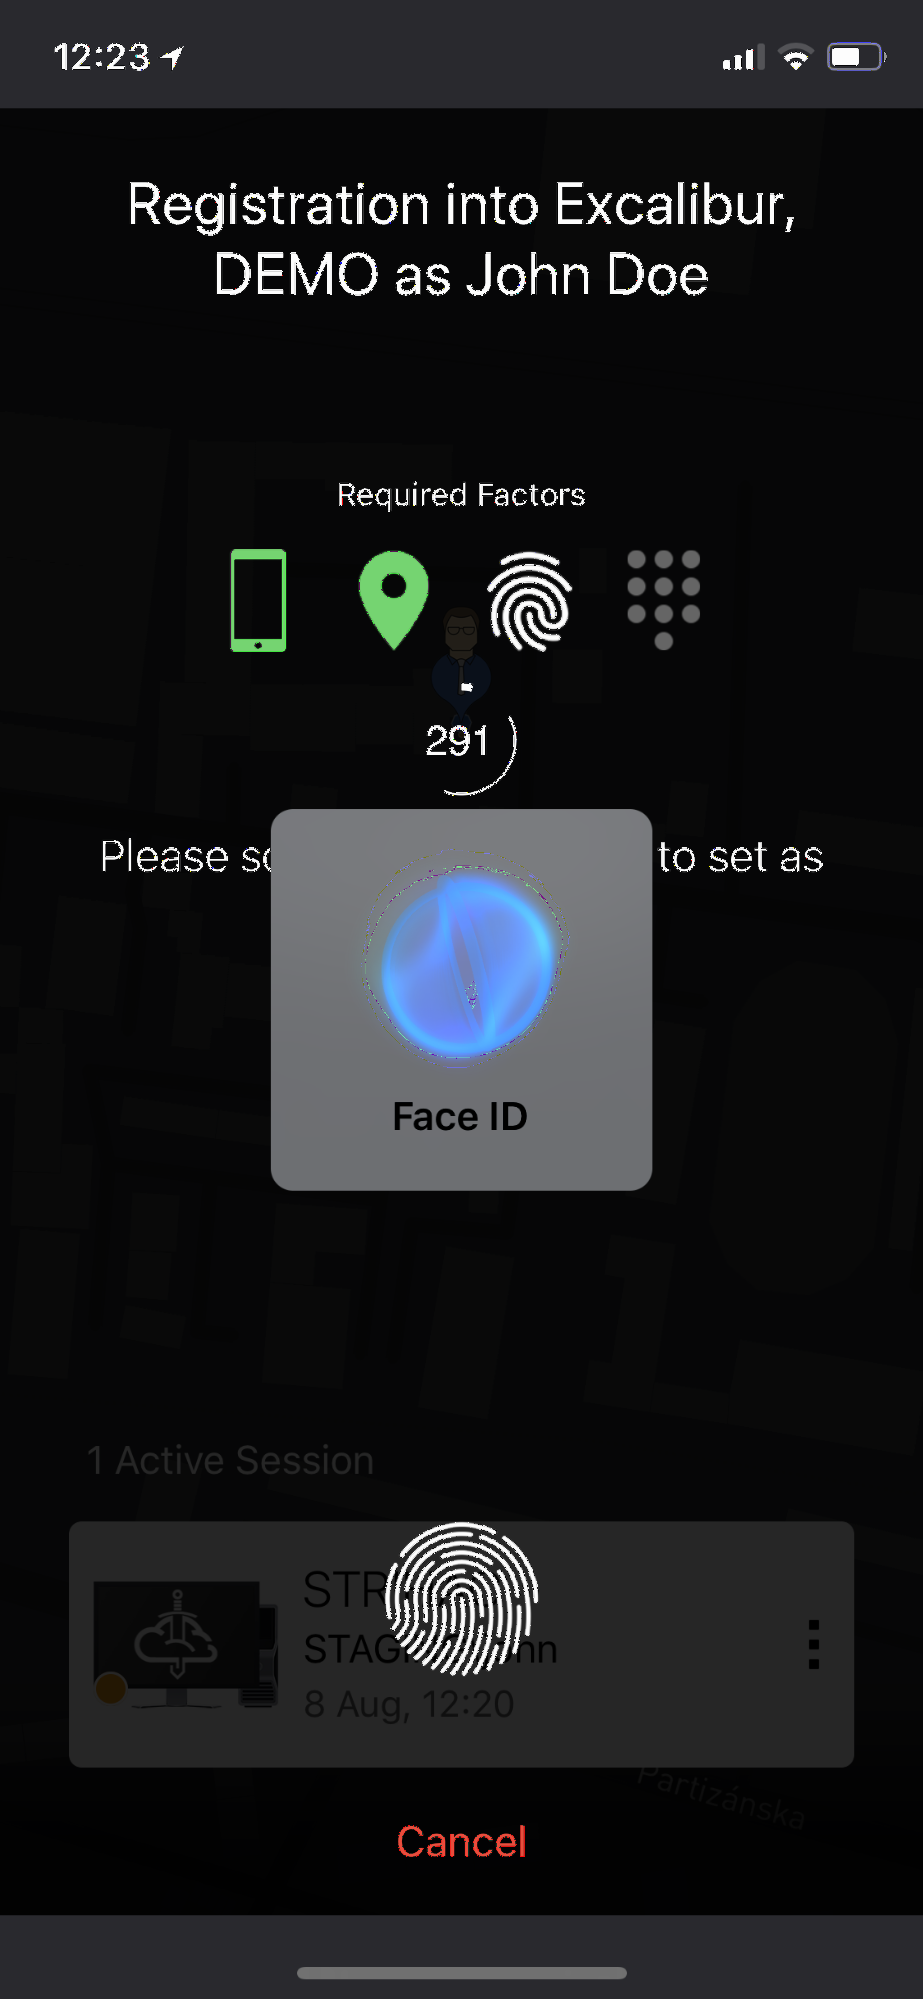
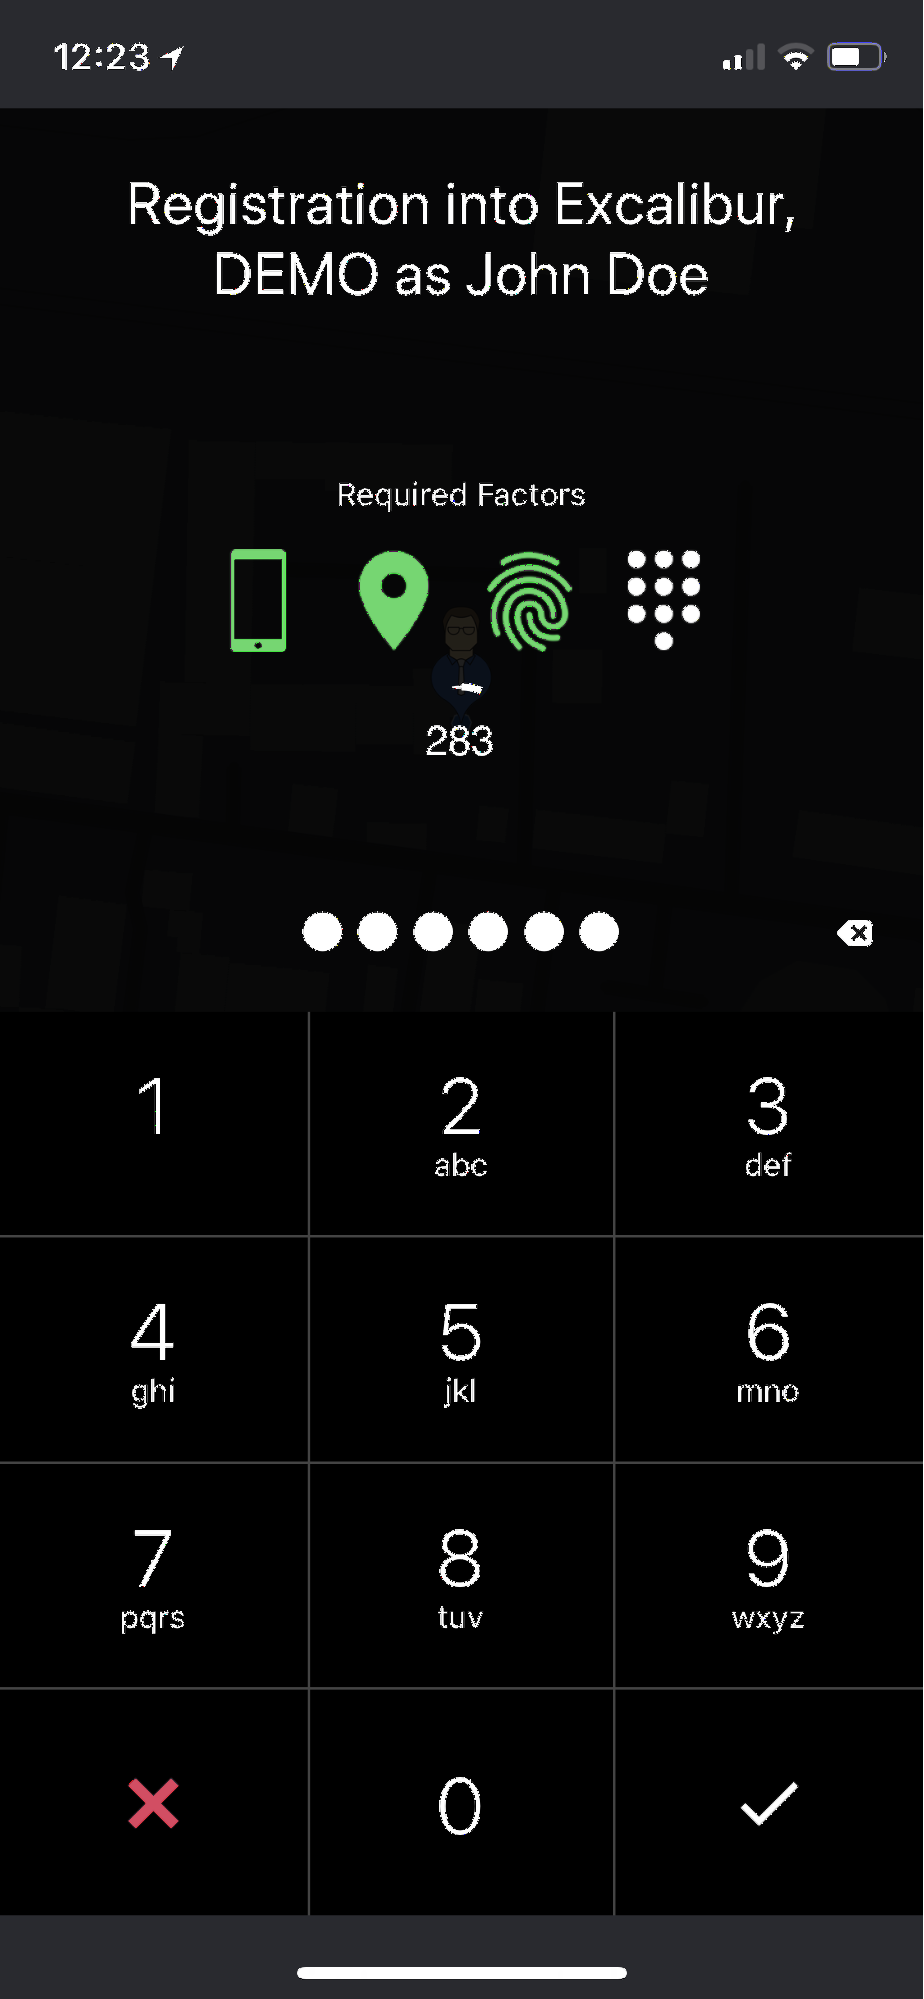
- Provide required authentication factors: Fingerprint / Face ID and PIN
- You should be registered

Main icon of application
 History - detailed list of all authenticated sessions.
 Scanner - scanner for all supported QRs (login, register, …)
 Settings - list of all registered companies (identities) with appropriate actions
Application settings
Run on background - Android
Android Excalibur application provides to disable/enable background running on mobile. Enabling improves application speed.
How to disable/enable “Run on background”
- Click on application settings
- Disable or enable “Run on background”
Vibrations
Excalibur provides to disable/enable vibrations of mobile. When you scan the QR code or provide factors, vibrations are used.
How to disable/enable vibrations
- Click on application settings
- Disable or enable “Vibrations”
Notifications - iOS
iOS Excalibur application provides to disable/enable notifications on token. Notifications are required to work properly
- Click on application settings
- Disable or enable “Notifications”
Usage & Diagnostics
Excalibur application provides option to send data from User’s phone to the Vendor.
- Click on application settings
- Disable or enable “Usage & Diagnostics”
Language
Excalibur application provides a change of language in English or Slovak version.
How to change language
- Click on application settings
- Click on “Language”
- Select language
App theme
Excalibur application provides an option to set the theme of Application. By default, theme is preset by device's mode. You can choose between device or dark and light theme
How to change app theme
- Click on application settings
- Click on App Theme
- Select required theme
Report a problem
If you have a problem with the application, you have an option to report a problem.
How to report a problem
- Click on application settings
- Click on “Report a problem”
- If you want to be contacted by developer, type email
- Describe your problem and send your message by clicking on the “Send” button at the top right
Home geofences settings
If home office is allowed, then it is an option to set home location for logging to PC Client
How to create Location
- Click on application settings
- Select “Home geofences”
- Search your address using the “Search address” bar, the result will be displayed on the map.
- Tap on selected place and confirm by “Add geofence”
How to remove Locations
- Click on application settings
- Select “Home geofences”
- Select the location which you want to delete and click on it.
- Click on “Remove geofences” to delete location
Info
If a company's policy limits the number of defined Home Locations and the user tries to define more than allowed a warning will be displayed.
Application and server version and Library review
In the token you can find information about Application and third party libraries.
How to show version of mobile application and server version
- Click on application settings
- Click on selected company
- At bottom rows are shown information about last registration (date, time), version of Excalibur server and mobile application
How to show version of mobile application
- Click on application settings
- Scroll down and go to the About app.
How to show third party libraries
- Click on application settings
- Scroll down and go to the About app.
User’s data review
Excalibur application provides details of your registered account on token.
How to show account details
- Click on application settings
- Click on selected company
- Select user’s account
-
At bottom rows are shown information about user’s account such as:
-
Login as - name which you use to login
- Full name - Your name and surname
- E-Mail - mail address which is used
- Domain - domain where your account registered is
- Type - Type of your account (Local / Active Directory)
- Manager - In case that manager has been assigned to user
Reset PIN
Excalibur application provides a reset PIN in your device. If you use multicompany, PIN code is same for booth company
How to reset PIN
- Click on application settings
- Click on “Reset PIN”
- Confirm by providing required authentication factors (PIN, fingerprint, Face ID)
- Enter your new PIN code
Info
If it is necessary to reset PIN, then it is necessary to provide all required factors /Fingerprint or FaceID/ and PIN. For multicompany is necessary to provide the same PIN.
Show password
Excalibur application provides to display your password on your registered phone. This option can be enabled or disabled by company's security policies.
How to show password
- Click on application settings
- Click on selected company
- Click on your account
- Click on “Show password”
- Provide required authentication factors
Connection to server
User has an option to check connection of his/her token to Excalibur server
How to check connection
- Click on application settings
- If you see green dot next to your company, token is connected to server
- If you see red dot next to your company, token is not connected to server
Session history
Excalibur lets you inspect your session history
How to check session history
- Click on Session History button on the left side of bottom panel
- Scroll through your session history or change the month
- Select specific session to see it on the map and see session details
Application termination - Android
You can close Excalibur application as follows
How to close application 1
- Click on application settings button and scroll down
- Click on the “Exit App” button
- Click on the Exit button to terminate application. Application doesn't run on background if “Run on background” is set up
How to close application 2
- Click on the “Home”button on the phone. Application may run on background if “Run on background” is set up
Login/unlock and logout/lock PC
Online Login
When both your computer and your phone are online Excalibur executes Online Login which after confirming authentication factors logs you in automatically
- Click on scanner button and scan the Login QR from the screen of your computer with Excalibur mobile phone application
- Confirm by providing required authentication factors (PIN, fingerprint, Face ID)
- Computer should log you in automatically, if not:
- Continue to Static Password if Excalibur asks for your current password
- Continue to Expired Password if your password is expired and Excalibur asks for a new password
- Continue to OTP Login if Excalibur generates OTP code
Static password
During login Excalibur might ask you for your current User password. In this case:
- Type in your current User password
- Click on the “Login” button
- Computer should log you in automatically
Change of expired password
When your password expires due to your company’s password policy Excalibur might ask you for the new password. In this case:
- Type in your current User password
- Type in your new User password
- Confirm by clicking the “Change” button
- Computer should log you in automatically
Login with OTP password
When your phone or your PC is offline, the Excalibur application might generate short OTP code with expiration instead of logging you in automatically. In that case:
- Retype the OTP code into OTP field of your computer’s screen
- Confirm by pressing “ENTER” key on your keyboard or click on confirmation button
Login without Phone
When you forget your phone, you might still log into the computer using Excalibur
- Click on “Forgotten phone” button on your computer’s login screen
- Type in your username, Excalibur PIN code and the reason why you can’t use Excalibur mobile phone application to log in
- Confirm by clicking the “Login” button
- Wait for the Administrator, Service Desk operator or your superior to confirm the Login
Session termination (lock/logout)
Excalibur always shows you all your active sessions and enables you to lock/logout them even if you are away from the computer
How to lock/logout session
- Choose the online session from session list
- Click on
 button
 - Select “Lock” or “Logout”
How to unlock/logout session
- Choose the locked session from session list
- Click on button
- Select “Unlock” or “Logout”
Unlock option is only available at the location of last performed login. In case that User changed location, he / she has to scan QR code again to be able to log in.
Client application
How to install Excalibur client
Installation packages are delivered as .msi files for 32 and 64 bit version of Windows. To install Excalibur client on computer, follow steps in Excalibur Client Installation Manual
How to minimize/maximize client
To mininimize Excalibur client, click on x button located in the right top corner. To maximize Excalibur client, click on QR code
How to check internet connectivity
On the bottom bar on the right side, the Excalibur logo is located. It represents connection to the server. If logo has green dot, then client has connection to server. Red dot means that client has no connection to server. Client shows message to use OTP code to login.
How to select connection
Next to the connectivity icon, there is selector.
- Hoover with mouse over connection selector
- Select preferred connection
- LAN - more preferred option over WiFi, due to stability and speed.
- WiFi - less preferred option over LAN, due to stability and speed.
- VPN - If Cisco AnyConnect is installed on your computer, then you have option to select this connection. If you select it, the Cisco AnyConnect window shows up.
- Client should be connected via selected connection.
How to select language
Excalibur client allows switching between Slovak and English language. To switch between languages, follow steps:
- Hover with mouse over EN/SK icon.
- Select required language.
How to select keyboard language input
Excalibur client allows switching between Slovak and English keyboard language input. To switch between languages, follow steps:
- Hover with mouse over ENG/SLK icon in rectangle.
- Select required language input.
How to use Help in Excalibur Client
In the right bottom corner, the question mark in circle is located. To display Help, follow steps:
- Hover with mouse over Help icon.
- Select required help.
- Help should be shown.
How to check version of Excalibur Client
The version of Excalibur Client is displayed in the center bottom of Excalibur Client screen. Grey text.
How to get logs from Excalibur Client
Logs are stored in log folder. To get logs, follow steps:
- Navigate to folder:
C:\Program Files\Excalibur Enterprise\logs - There are logs stored in txt files.
Dashboard
Login to Dashboard
Excalibur provides an option for login to the user's interface / Dashboard.
How to login to dashboard
- For login to dashboard type to web browser the address of your Dashboard
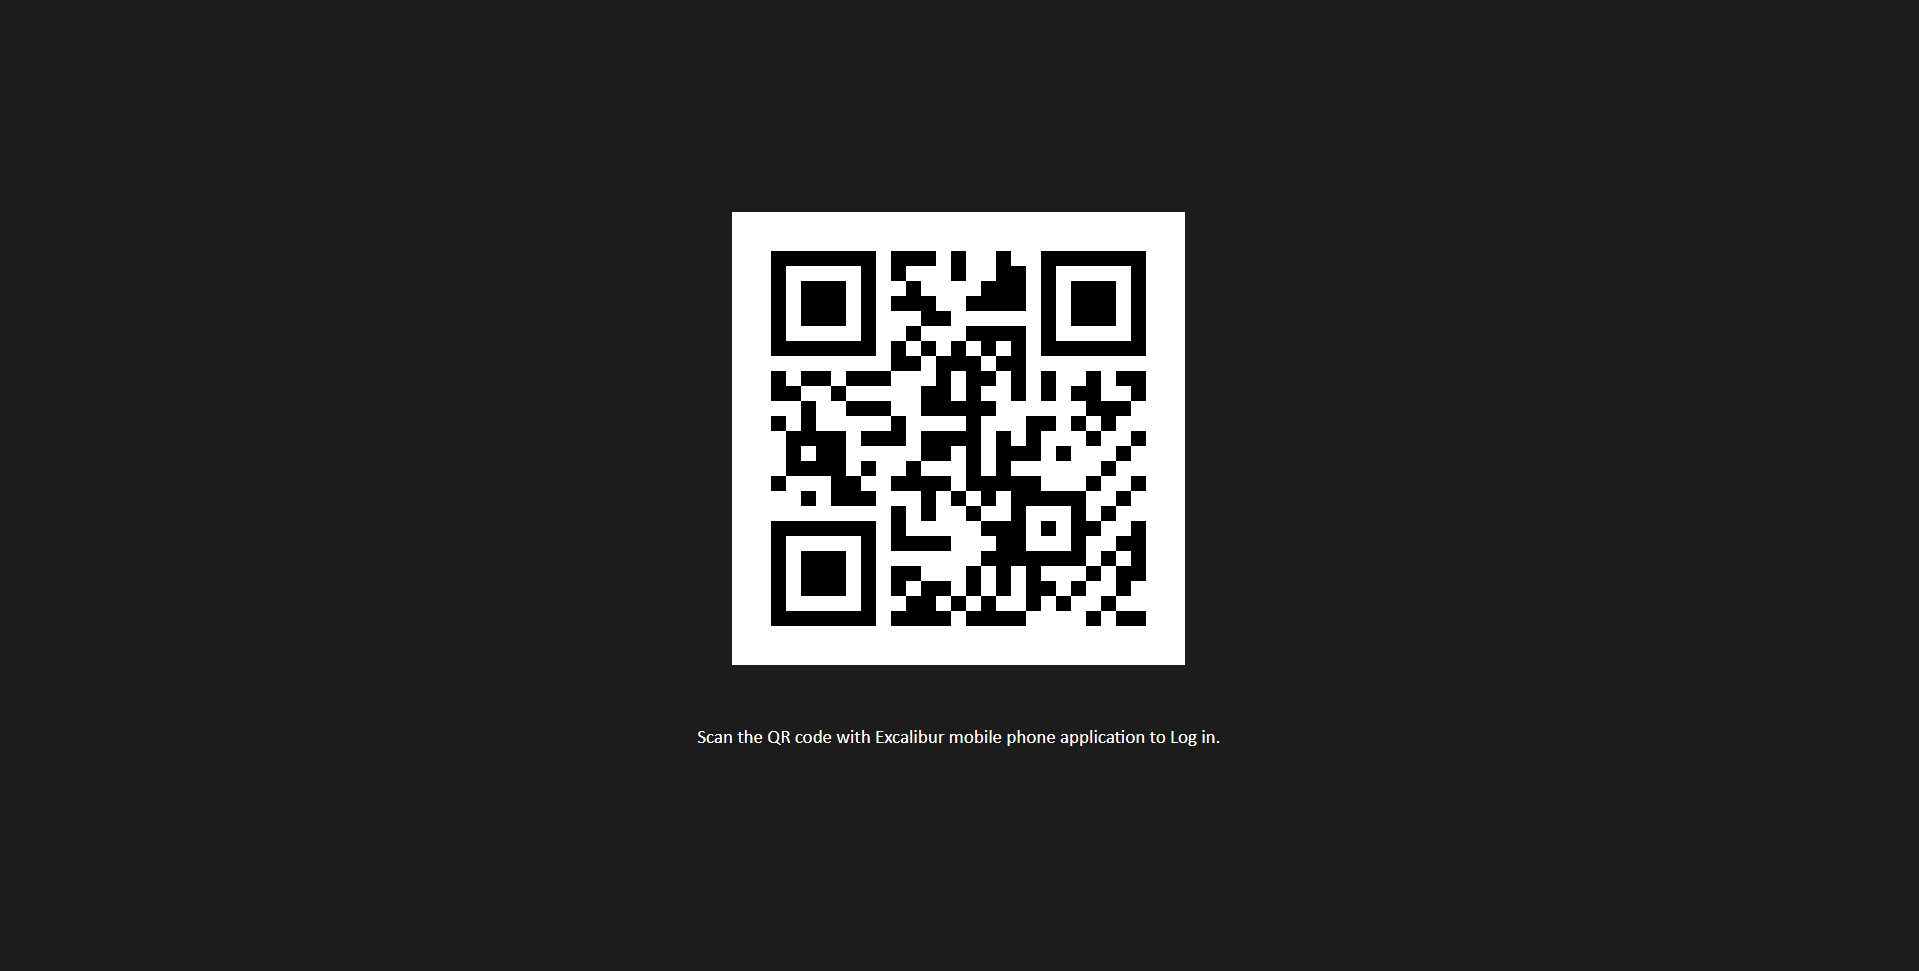
- After Dashboard login screen loading, scan QR code with initialized token and provide required factors
- After login you will be redirected to user account
How to register from dashboard
- For registration from dashboard type to web browser the address: “addressofyourdashboard/register”
- Type your credentials in format: Domain\username
- Scan registration QR code with initialized token and provide required factors
- After registration you will be redirected to user account
Overview
How to check Server and facade status
If it is necessary to check server and facade status, follow the next steps:
- Login to dashboard under Administrator account
- Click on Overview on left menu
- Click on the Server tab
Administrator can see on the left side of this tab server’s version and components which server uses. On right tab is shown facade version and connectivity status
How to restart server
If it is necessary to restart server, follow the next steps:
- Login to dashboard under Administrator account
- Click on Overview on left menu
- Click on the Server tab
- Click on “Restart” button
How to Add a component to server
If it is necessary to add new component to server, follow the next steps:
- Login to dashboard under Administrator account
- Click on Overview on left menu
- Click on the Server tab
- Add new component:
- Click on the “Drag here or browse to upload” button. Find component on your drive. Select it, and click to open.
- Find component on your drive and drag it to server tab
- Click on “Restart” button
How to get logs from Facade
If it is necessary to check or report logs from Facade, follow the next steps:
- Login to dashboard under Administrator account
- Click on Overview on left menu
- Click on the Server tab
- Click on “Get Logs” button
- Click on “Download logs” button
- Logs are downloaded immediately
How to enable/disable “Night mode”
Night mode serves to process manual sessions. Manual sessions are usually processed during 3-4:00 am. But in the same cases enabling Night mode is needed.
- Login to dashboard under Administrator account
- Click on Overview on left menu
- Click on the Server tab
- Click on the Night mode button and allow it.
How to check PAM storage
Excalibur allows to see usage of disc space for PAM
- Login to dashboard under Administrator account
- Click on Overview on left menu
- Click on the Server tab.
- On the right side you can see usage of disc space
How to check TRESK availability
Information about TRESK are described in TRESK Whitepaper
- Login to dashboard under Administrator account
- Click on Overview on left menu
- Click on the Server tab
- On the right side you can see availability of TRESK
How to check statistics
Excalibur Dashboard provides statistics about Sessions, Actions, incidents and used devices in company
- Login to dashboard under Administrator account
- Click on Overview on left menu
- You can switch among Statistics/Sessions/Actions/Devices tabs to show details
How to show report
- Login to dashboard under Administrator account
- Click on Overview on left menu
- Click on Report tab
Users
Administrator has an option to manage other users.
How to check user’s sessions
- Login to dashboard under Administrator account
- Click on Users on left menu
- Click on selected user from list
- Click on Sessions tab
- Sessions will be shown.
In the session tab you can check the type of session, date, workstation and location. You can lock or log out last known session
How to check user’s actions
- Login to dashboard under Administrator account
- Click on Users on left menu
- Click on selected user from list
- Click on Actions tab
- There is a list of all actions which user made
Info
In the Actions tab you can check the type of action, date, workstation. If you click on the selected row of action, detailed information about action will be shown.
How to check user’s incidents
- Login to dashboard under Administrator account
- Click on Users on left menu
- Click on selected user from list
- Click on Incidents tab
- There is a list of all incidents which user made
Info
In the Incident tab you can check the type of incident, date, workstation, Account. If you click on the selected row of incident, detailed information about the incident will be shown.
How to check user’s account
- Login to dashboard under Administrator account
- Click on Users on left menu
- Click on selected user from list
- Click on the Accounts tab
- Accounts will be shown
How to disable user’s account
If it is any reason for disable the user’s account, follow the next steps:
- Login to dashboard under Administrator account
- Click on Users on left menu
- Click on selected user from list
- Click on the Accounts tab
- Cover with mouse cursor on account, “Disable” button will be shown
- Click on “Disable” button
- Confirm disable action
How to enable user’s account
If it is any reason that any user has disabled account and it is necessary to activate it, the user has to execute self-registration again.
How to check user’s tokens
- Login to dashboard under Administrator account
- Click on Users on left menu
- Click on selected user from list
- Click on Tokens tab
How to disable user’s token
If it is any reason for disable the user’s token, follow the next steps:
- Login to dashboard under Administrator account
- Click on Users on left menu
- Click on selected user from list
- Click on Tokens tab
- Cover with mouse cursor on “version app” on selected token, “Disable” button will be shown
- Click on “Disable” button
- Confirm disable action
How to enable user’s token
If there is any reason that any user has disabled token and it is necessary to activate it, the user has to execute self-registration again.
How to check user’s computer
- Login to dashboard under Administrator account
- Click on Users on left menu
- Click on selected user from list
- Click on Computers tab and there is a list of computers which have been used
How to check user’s PAM applications
- Login to dashboard under Administrator account
- Click on Users on left menu
- Click on selected user from list
- Click on PAM tab
How to run PAM application from user’s detail
- Login to dashboard under Administrator account
- Click on Users on left menu
- Click on selected user from list
- Switch to PAM tab
- Click on
 icon of desired application and session will start in a new browser tab
How to check user’s groups
- Login to dashboard under Administrator account
- Click on Users on left menu
- Click on selected user from list
- Click on the Groups tab
- Informations about user’s groups will be shown
- By clicking on specific group, information about group will be shown
How to check user’s roles
- Login to dashboard under Administrator account
- Click on Users on left menu
- Click on selected user from list
- Click on Roles tab
- Informations about user’s roles will be shown
How to check user’s subordinates
- Login to dashboard under Administrator account
- Click on Users on left menu
- Click on selected user from list
- Click on Subordinates tab
- By clicking on subordinate, information about user will be shown
How to set location
Users usually have the option to set their own locations by default policy. Administrator may have a policy to set location for another user.
- Login to dashboard under Administrator account
- Click on Users on left menu
- Click on selected user from list
- Click on Location tab
- Find locality on map
- Click on “+” button at the top right on the map
- Click on selected locality
- Select Type of locality. Home/ Temporary
- For Temporary location set expiration date
- Confirm by clicking on “Create” button
- Scan QR code or confirm Push notification on mobile
- Provide required factors
How to add Home / Temporary Location
- Login to dashboard under Administrator account
- Click on Users on left menu
- Click on selected user from list
- Click on the Locations tab
- Click on “+” button and click on selected place on the map
- Select type of location. If you select Temporary, you select validation date/
- Click on “Create” button
- Scan shown QR code or confirm push notification on mobile phone
- Provide required factors
How to edit Home / Temporary Locations 1
- Login to dashboard under Administrator account
- Click on Users on left menu
- Click on selected user from list
- Click on Location tab
- Find location on map
- Right click on selected location
- Select “Edit locations”
- Change position by dragging circle or change radius for temporary location by dragging points on circuit
- Click on map
- Confirm changes
- Scan shown QR code or confirm push notification on mobile phone
- Provide required factors
How to edit Home / Temporary Locations 2
- Login to dashboard under Administrator account
- Click on Users on left menu
- Click on selected user from list
- Click on Location tab
- Find location on list
- Click on selected location and click on
 button
 - Change position by dragging circle or change radius for temporary location by dragging points on circuit
- Click on map
- Confirm changes
- Scan shown QR code or confirm push notification on mobile phone
- Provide required factors
How to change temporary validation date 1
- Login to dashboard under Administrator account
- Click on Users on left menu
- Click on selected user from list
- Click on the Locations tab
- Find locality on map
- Right click on selected temporary location
- Select “Change date”
- Change date by clicking on date and select new date
- Click on “Change” button
- Scan shown QR code or confirm push notification on mobile phone
- Provide required factors
How to change temporary validation date 2
- Login to dashboard under Administrator account
- Click on Users on left menu
- Click on selected user from list
- Click on Location tab
- Find location on list
- Click on selected temporary location and click on
 button
 - Change date by clicking on date and select new date
- Click on “Change” button
- Scan shown QR code or confirm push notification on mobile phone
- Provide required factors
How to remove Home/Temporary locations 1
- Login to dashboard under Administrator account
- Click on Users on left menu
- Click on selected user from list
- Click on Location tab
- Find location on map
- Right click on selected location
- Select “Remove locations”
- Confirm removing
How to remove Home/Temporary locations 2
- Login to dashboard under Administrator account
- Click on Users on left menu
- Click on selected user from list
- Click on Location tab
- Find location on list
- Click on selected location and click on “x” button
How to change map layer
- Login to dashboard under Administrator account
- Click on Users on left menu
- Click on selected user from list
- Click on the Locations tab
- On the bottom left of the map you can switch between layers Map/Hybrid/Styled Map
- Click on selected layer, changes will be shown immediately
How to check users Users logs
- Login to dashboard under Administrator account
- Click on Users on left menu
- Click on selected user from list
- Click on the Logger tab
- You see all actions
- By clicking on specific action, detail shows up
Timeline
Timeline provide preview of all sessions (Locked, Online, Manual, OTP and Tokenless) which has occurred in a day
How to check timeline
- Login to dashboard under Administrator account
- Click on Timeline on left menu
- There is a list of users with their timelines
- By clicking on left/right arrow, you can check timelines which has been occurred
- By clicking on
 button on right top, you can select timeline by day
Info
If user has any subordinates, then subordinates are sorted under this user
Actions
How to check Actions
- Login to dashboard under Administrator account
- Click on Actions on left menu
- There is a list of the latest actions which have occurred. Tabs are divided by action
- By clicking on specific row in tab of action, information about action on right side will be shown
How to filter Actions
- Login to dashboard under Administrator account
- Click on Actions on left menu
- Click on selected tab of action
- Click on button and select criteria (status, users or time)
Sessions
How to check Sessions
- Login to dashboard under Administrator account
- Click on Sessions on left menu
- There is a list of all Logged, Active, and Manual sessions, as well as their History divided to tabs
- By selecting of tab and clicking on specific row, you will be redirected to user account with session tab
How to lock/logout session from Sessions menu
- Login to dashboard under Administrator account
- Click on Sessions on left menu
- Cover with mouse cursor on selected session, lock and logout buttons will be shown
- Click on lock/logout button and confirm lock/logout
Computers
How to check computers
- Login to dashboard under Administrator account
- Click on Computers on left menu
- There is a list of all computers which are used in the domain. In the tab are recorded information about computers (name, version of Excalibur, version of OS, connection status)
- By clicking on a specific computer, you will be redirected to the page with Sessions, Incidents, Users, Groups and Actions tab.
How to check computer’s sessions
- Login to dashboard under Administrator account
- Click on Computers on left menu
- Click on selected computer
- You will be redirected to computer’s sessions and you can see all sessions of computer
How to check computer’s incidents
- Login to dashboard under Administrator account
- Click on Computers on left menu
- Click on selected computer
- You will be redirected to computer’s sessions
- Switch to Incident tab
- By clicking on specific incident, information about the incident will be shown
How to check computer’s users
- Login to dashboard under Administrator account
- Click on Computers on left menu
- Click on selected computer
- You will be redirected to computer’s sessions
- Switch to Users tab and you can see users who have been logged to computer
How to check computer’s groups
- Login to dashboard under Administrator account
- Click on Computers on left menu
- Click on selected computer
- You will be redirected to computer’s sessions
- Switch to Groups tab
How to check computer’s actions
- Login to dashboard under Administrator account
- Click on Computers on left menu
- Click on selected computer
- You will be redirected to computer’s sessions
- Switch to Actions tab
- By clicking on specific action, information about action will be shown
How to get Logs from computers
- Login to dashboard under Administrator account
- Click on Computers on left menu
- Click on selected computer / Note: On computer have to be installed supported PC client application and computer have to be connected. /
- Click on “Get logs” button on the right side
- Logs will be downloaded to your computer
Components
How to check components
- Login to dashboard under Administrator account
- Click on Components on left menu
- There is a list of all components with their version, platform and type
How to create component
- Login to dashboard under Administrator account
- Click on Components on left menu
- Click on “+” button on right top
- Type name of component
- Select platform and other fields
- Save component
How to rename component
- Login to dashboard under Administrator account
- Click on Components on left menu
- Cover with mouse cursor on selected component, buttons will be shown
- Click on button and rename component
- Save changes
How to delete component 1
- Login to dashboard under Administrator account
- Click on Components on left menu
- Cover with mouse cursor on selected component, buttons will be shown
- Click on ”x” button
- Confirm delete
How to delete component 2
- Login to dashboard under Administrator account
- Click on Components on left menu
- Click on selected component
- Click on ”x” next to button on right top
- Confirm delete
How to set component
- Login to dashboard under Administrator account
- Click on Components on left menu
- Click on selected component
- Click on button on right top
- Edit component
- Save changes
How to check sessions of component
- Login to dashboard under Administrator account
- Click on Components on left menu
- Click on selected component
- Switch to Sessions tab
How to check incidents of component
- Login to dashboard under Administrator account
- Click on Components on left menu
- Click on selected component
- Switch to Incidents tab
How to check users of component
- Login to dashboard under Administrator account
- Click on Components on left menu
- Click on selected component
- Switch to Users tab
How to check groups of component
- Login to dashboard under Administrator account
- Click on Components on left menu
- Click on selected component
- Switch to Groups tab
How to check actions of component
- Login to dashboard under Administrator account
- Click on Components on left menu
- Click on selected component
- By clicking on specific row, information about action will be shown
How to create role for component
- Login to dashboard under Administrator account
- Click on Components on left menu
- Click on selected component
- Switch to Roles tab
- Click on “+” button of roles tab on right top
- Type name of role
- Save role
How to rename role of component
- Login to dashboard under Administrator account
- Click on Components on left menu
- Click on selected component
- Switch to Roles tab
- Cover with mouse cursor on selected role, buttons will be shown
- Click on button and rename role
- Save changes
How to delete role of component
- Login to dashboard under Administrator account
- Click on Components on left menu
- Click on selected component
- Switch to Roles tab
- Cover with mouse cursor on selected role, buttons will be shown
- Click on ”x” button
- Confirm delete
How to assign group of users for role of component
- Login to dashboard under Administrator account
- Click on Components on left menu
- Click on selected component
- Switch to Roles tab
- Click on selected role
- Switch on Group tab on right side
- Click on “+” button under Group tab
- Select groups of users
- Confirm by “Add” button
How to unassign group of users for role of component
- Login to dashboard under Administrator account
- Click on Components on left menu
- Click on selected component
- Switch to Roles tab
- Click on selected role
- Switch on Group tab on right side
- Click on “-” button under Group tab
- Select groups of users
- Confirm by “Remove” button
How to check users of role of component
- Login to dashboard under Administrator account
- Click on Components on left menu
- Click on selected component
- Switch to Roles tab
- Click on selected role
- Switch on Users tab on right side
PAM - optional
How to create PAM application 1
- Login to dashboard under Administrator account
- Click on PAM on left menu and Resource tab shows up
- Click on + button in the top right corner and settings windows shows up
- Fill in all fields and save it
How to create PAM application 2
- Login to dashboard under Administrator account
- Click on PAM on left menu and Resource tab shows up
- Switch to List tab
- Click on + button in the top right corner and settings windows shows up
- Fill in all fields and save it
How to run PAM application from PAM section 1
- Login to dashboard under Administrator account
- Click on PAM on left menu and Resource tab shows up
- Click on icon of desired application and session will start in a new browser tab
How to run PAM application from PAM section 2
- Login to dashboard under Administrator account
- Click on PAM on left menu and Resource tab shows up
- Switch to List tab
- Click on icon of desired application and session will start in a new browser tab
How to terminate PAM session
- Close PAM tab on web browser
How to edit PAM application 1
- Login to dashboard under Administrator account
- Click on PAM on left menu and Resource tab shows up
- Click on the Edit button under icon of desired application and settings windows shows up
- Make a change and save it
How to edit PAM application 2
- Login to dashboard under Administrator account
- Click on PAM on left menu and Resource tab shows up
- Switch to List tab
- Go over desired application and click on button which shows up on the right side and settings windows shows up
- Make a change and save it
How to delete PAM application 1
- Login to dashboard under Administrator account
- Click on PAM on left menu and Resource tab shows up
- Click on the Delete button under icon of desired application
- Confirm delete of application
How to delete PAM application 2
- Login to dashboard under Administrator account
- Click on PAM on left menu and Resource tab shows up
- Switch to List tab
- Go over desired application and click on
 button which shows up
 - Confirm delete of application
How to display PAM details
- Login to dashboard under Administrator account
- Click on PAM on left menu and Resource tab shows up
- Switch to List tab
- Click on the name of the desired application and further details shows up /sessions, actions, incidents, users, groups, history/
How to view PAM session
- Login to dashboard under Administrator account
- Click on PAM on left menu and Resource tab shows up
- Switch to List tab
- Click on the name of the desired application and session tab shows up
- Go over desired session and click on
 button which shows up
 - Click on the
 button to play the recorded session on browser
How to download typescript of PAM session /SSH/
- Login to dashboard under Administrator account
- Click on PAM on left menu and Resource tab shows up
- Switch to List tab
- Click on the name of the SSH application and session tab shows up
- Go over desired session and click on
 button which shows up
 - Typescript will be downloaded immediately
How to download typescript timing of PAM session /SSH/
- Login to dashboard under Administrator account
- Click on PAM on left menu and Resource tab shows up
- Switch to List tab
- Click on the name of the SSH application and session tab shows up
- Go over desired session and click on
 button which shows up
 - Typescript timing will be downloaded immediately
How to display users who use specific PAM application
- Login to dashboard under Administrator account
- Click on PAM on left menu and Resource tab shows up
- Switch to List tab
- Click on the name of the desired application and session tab shows up
- Switch to Users tab to display all users who use this PAM application
Note
By clicking on specific item further details shows up
How to display groups where specific PAM application is assigned
- Login to dashboard under Administrator account
- Click on PAM on left menu and Resource tab shows up
- Switch to List tab
- Click on the name of the desired application and session tab shows up
- Switch to Groups tab to display all groups where PAM application is assigned
How to display changes which have been made
- Login to dashboard under Administrator account
- Click on PAM on left menu and Resource tab shows up
- Switch to List tab
- Click on the name of the desired application and session tab shows up
- Switch to History tab to display all changes of PAM application which have been made
How to download file (File transfer have to be enabled)
- Login to dashboard under Administrator account
- Click on PAM on left menu and Resource tab shows up
- Select desired SSH application and run it
- Click on
 button at the top of the new PAM session tab, and panel shows up
 - Click on device
- Select folder by double click
- Doubleclick on selected file. File is downloaded immediately
How to download file from another destination (RDP)
If you have access to another location follow next steps
- Open This computer
- Go to Shared disk on Excalibur and copy file there
- Then move the file to the Download folder. File will be downloaded immediately
How to upload file (File transfer have to be enabled)
- Login to dashboard under Administrator account
- Click on PAM on left menu and Resource tab shows up
- Select desired SSH application and run it
- Click on button at the top of the new PAM session tab, and panel shows up
- Click on device
- Select folder by double click where file will be uploaded
- Click on the Upload file button and select file from computer. File is uploaded immediately
How to check transfered files
- Login to dashboard under Administrator account
- Click on PAM on left menu and Resource tab shows up
- Switch to File transfers tab and there is a list of all files which were transferred
How to download transferred files
- Login to dashboard under Administrator account
- Click on PAM on left menu and Resource tab shows up
- Switch to File transfers tab and there is a list of all files which were transferred
- Click on desired file and file is downloaded immediately
How to search word in PAM sessions
- Login to dashboard under Administrator account
- Click on PAM on left menu and Resource tab shows up
- Switch to Fulltext search tab
- Type desired keyword into Search bar. All sessions which include keywords are shown immediately.
- Hover by mouse cursor over required session and click on the button, to play the required session. Blue highlighted interval on timeline is the place of required keyword you search
Groups
Users
How to create a group of Users
- Login to dashboard under Administrator account
- Click on Users under Groups on left menu
- Click on “+” button
- Type in the name of group
- Select users by typing to Users field or select users by domain
- Save group
How to delete a group of Users
- Login to dashboard under Administrator account
- Click on Users under Groups on left menu
- Find the group and move with the mouse over it. Buttons will be shown.
- Click on “x” button
- Confirm deleting of group
How to rename group of Users
- Login to dashboard under Administrator account
- Click on Users under Groups on left menu
- Find the group and move with the mouse over it. Buttons will be shown.
- Click on button, and rename group
- Save the changes
How to edit group of Users
- Login to dashboard under Administrator account
- Click on Users under Groups on left menu
- Click on selected group
- Click on right top
 button, and edit group
 - Save changes
How to check users in group
- Login to dashboard under Administrator account
- Click on Users under Groups on left menu
- Click on selected group
- Switch tab on right top from Filter to Users
How to assign policies to group
- Login to dashboard under Administrator account
- Click on Users under Groups on left menu
- Click on selected group
- Switch tab on right top from Filter to Policies
- Click on “+” tab on right top
- Select policies from list
- Confirm by Add button
How to change policy criteria in group
In groups is an option to change the policy of the group. If it is necessary, follow the next steps:
- Login to dashboard under Administrator account
- Click on Users under Groups on left menu
- Click on selected group
- Switch tab on right top from Filter to Policies
- Click on right top button
- Select desired action’s tabs and change required criteria
- Save changes
How to check History of group of Users
- Login to dashboard under Administrator account
- Click on Users under Groups on left menu
- Click on selected group
- Switch tab on right top from Filter to History
Computers
How to create a group of Computers
- Login to dashboard under Administrator account
- Click on Computers under Groups on left menu
- Click on “+” button
- Type in the name of group
- Select computers by typing to Clients field or select computers by domain
- Save group
How to delete a group of Computers
- Login to dashboard under Administrator account
- Click on Computers under Groups on left menu
- Find the group and move with the mouse over it. Buttons will be shown.
- Click on “x” button
- Confirm deleting of group
How to rename group of Computers
- Login to dashboard under Administrator account
- Click on Computers under Groups on left menu
- Find the group and move with the mouse over it. Buttons will be shown.
- Click on button, and rename group
- Save the changes
How to edit group of Computers
- Login to dashboard under Administrator account
- Click on Computers under Groups on left menu
- Click on selected group
- Click on right top button, and edit group
- Save changes
How to check computers in group
- Login to dashboard under Administrator account
- Click on Computers under Groups on left menu
- Click on selected group
- Switch tab on right top from Filter to Computers
How to check History of group of Computers
- Login to dashboard under Administrator account
- Click on Computers under Groups on left menu
- Click on selected group
- Switch tab on right top from Filter to History
Geofences
How to create a group of Geofences
- Login to dashboard under Administrator account
- Click on Geofences under Groups on left menu
- Click on “+” button
- Select geofences from list and save
- Type in the name of group
- Save group
How to delete group of Geofences
- Login to dashboard under Administrator account
- Click on Geofences under Groups on left menu
- Find the group and move with the mouse over it. Buttons will be shown.
- Click on “x” button
- Confirm deleting of group
How to rename group of Geofences
- Login to dashboard under Administrator account
- Click on Geofences under Groups on left menu
- Find the group and move with the mouse over it. Buttons will be shown.
- Click on button, and rename group
- Save the changes
How to edit group of Geofences
- Login to dashboard under Administrator account
- Click on Geofences under Groups on left menu
- Click on selected group
- Click on right top “+” or”-” button, and add or remove geofences
- Save changes
How to edit check History of group of Geofences
- Login to dashboard under Administrator account
- Click on Geofences under Groups on left menu
- Click on selected group
- Switch tab on right top from Geofences to History
Security
Roles
How to assign role to user
Excalibur Dashboard has an option to assign role to user. If it is necessary, follow the next steps:
- Login to dashboard under Administrator account
- Click on Roles on left menu
- Click on selected role (Administrator, Service desk or Auditor)
- Click on “+” button on right top
- Select groups of users from list
- Click on the Add button
How to remove role to user
- Login to dashboard under Administrator account
- Click on Roles on left menu
- Click on selected role (Administrator, Service desk or Auditor)
- Click on “-” button on right top
- Select groups of users from list
- Click on the Remove button
How to check users of roles
- Login to dashboard under Administrator account
- Click on Roles on left menu
- Click on selected role (Administrator, Service desk or Auditor)
- Switch tab from Groups to Users
How to check the History of roles
- Login to dashboard under Administrator account
- Click on Roles on left menu
- Click on selected role (Administrator, Service desk or Auditor)
- Switch tab from Groups to History
Security policies
How to create policy
- Login to dashboard under Administrator account
- Click on Security policies on the left menu
- Click on “+” button
- Type in the name of policy
- Click on “+” button on the tab and select tabs (Authentication, Verification, etc), which you want to set
- Select options for each action of policy
- Save the policy
Info
If any action has not settings, then actions are directed by default policy
How to rename policy
- Login to dashboard under Administrator account
- Click on Security policies on the left menu
- Find policy and move with the mouse over it. Buttons will be shown
- Click on button
- Rename policy
- Save changes
How to delete policy
- Login to dashboard under Administrator account
- Click on Security policies on the left menu
- Find policy and move with the mouse over it. Buttons will be shown
- Click on “-” button
- Confirm deleting
How to create copy of policy
- Login to dashboard under Administrator account
- Click on Security policies on the left menu
- Find policy and move with the mouse over it. Buttons will be shown
- Click on
 button
 - Rename policy and save it
How to change policy settings
- Login to dashboard under Administrator account
- Click on Security policies on the left menu
- Click on selected policy
- Select policy tab on right side
- Click on button near policy tabs
- Select tab and create changes
- Save changes
How to check the history of policy
- Login to dashboard under Administrator account
- Click on Security policies on the left menu
- Click on selected policy
- Switch tab from Policies to History
How to check which group is assigned to policy
- Login to dashboard under Administrator account
- Click on Security policies on the left menu
- Click on selected policy
- On right side are groups which are assigned to policy
Incidents
How to check Incidents in Excalibur
- Login to dashboard under Administrator account
- Click on Incidents on left menu
- You can see Incident tabs. Tabs are divided by the level of incidents
How to show details about incident
- Login to dashboard under Administrator account
- Click on Incidents on left menu
- Click on selected incident
- On right side on incident tab are shown information about incident (User, date, level, group, data, token, policy, map)
How to filter incidents
- Login to dashboard under Administrator account
- Click on Incidents on left menu
- Click on button and select criteria to filtering
Verifications
How to check Verifications in Excalibur
- Login to dashboard under Administrator account
- Click on Verifications on left menu
- You can see Verification tabs. Tabs are divided by Actions
How to show details about verification
- Login to dashboard under Administrator account
- Click on Verifications on left menu
- Click on selected tab of action
- By clicking on selected row information about verification will be shown (User, date, level, group, data, token, policy, map)
How to filter verifications
- Login to dashboard under Administrator account
- Click on Verifications on left menu
- Click on button and select criteria to filtering
Geofences
How to create geofence
- Login to dashboard under Administrator account
- Click on Geofences under Security section on the left menu
- Find up location for geofence
- Click on “+” button at the top
- Click on the selected location and drag a mouse scale the circle. Once the circle covers a desired area
- Type name of new geofence
- Click on “Create” button
- Scan shown QR code or confirm push notification on mobile phone
- Provide required factors
How to check geofence
- Login to dashboard under Administrator account
- Click on Geofences under Security section on the left menu
- On right side is list of geofences, you can check it
How to rename geofence 1
- Login to dashboard under Administrator account
- Click on Geofences under Security section on the left menu
- Find geofence on the map by typing to search bar on right top
- Right click on geofence and select “Rename geofence”
- Rename geofence
- Confirm changes by clicking on “Rename” button
- Scan shown QR code or confirm push notification on mobile phone
- Provide required factors
How to rename geofence 2
- Login to dashboard under Administrator account
- Click on Geofences under Security section on the left menu
- On right side is list with created geofences
- Click on selected geofence and click on button
- Rename geofence
- Confirm changes by clicking on “Rename” button
- Scan shown QR code or confirm push notification on mobile phone
- Provide required factors
How to edit geofence 1
- Login to dashboard under Administrator account
- Click on Geofences under Security section on the left menu
- Find geofence
- Right click on geofence and select “Edit geofence”
- Edit geofence. You can change the radius and position of geofence
- Click on point on round or point inside the circle and drag it. Radius or position will be changed
- Click on map
- Confirm changes
- Scan shown QR code or confirm push notification on mobile phone
- Provide required factors
How to edit geofence 2
- Login to dashboard under Administrator account
- Click on Geofences under Security section on the left menu
- On right side is list with created geofences
- Click on selected geofence and click on button
- Edit geofence. You can change the radius and position of geofence
- Click on point on round or point inside the circle and drag it. Radius or position will be changed
- Click on map
- Confirm changes
- Scan shown QR code or confirm push notification on mobile phone
- Provide required factors
How to remove geofence 1
- Login to dashboard under Administrator account
- Click on Geofences under Security section on the left menu
- Find geofence
- Right click on geofence and select “Remove geofence”
- Confirm changes
How to remove geofence 2
- Login to dashboard under Administrator account
- Click on Geofences under Security section on the left menu
- On right side is list with created geofences
- Click on selected geofence and click on “x” button
- Confirm changes
How to change map layer
- Login to dashboard under Administrator account
- Click on Geofences under Security section on the left menu
- On left top of the map you can switch between layers Map/Hybrid/Styled Map
- Click on selected layer, changes will be shown immediately
Audit
How to check changes in Excalibur dashboard
Excalibur provides to check all changes/actions under administrator account. Changes are divided into Roles, Policies, Group of users, Group of computers, Group of geofences, Geofences, Locations, Component tab.
- Login to dashboard under Administrator account
- Click on Audit on left menu
- Select required tab
- By clicking on specific row, information about changes will be shown on right side
Logger
Logger allows to display all actions by users' tokens. Administrator can see performance of authentication and flow of each action
How to see performance of authentication
- Login to dashboard under Administrator account
- Click on Logger on left menu
How to change performance graph
- Login to dashboard under Administrator account
- Click on Logger on left menu
- Select time interval on the right top
How to show flow
- Login to dashboard under Administrator account
- Click on Logger on left menu
- Click on Flow tab
- Select specific action to show detail
- You can filter by name of action and datetime.
Status
Version
How to check versions of Excalibur on devices
- Login to dashboard under Administrator account
- Click on Version on left menu
- Tabs are divided by OS platform. Tabs consist of two parts.
- List of PC clients or mobile phone, with their name, system platform, connectivity status (or date of last logout), version of Excalibur client/application.
- List of Excalibur client/application version and their count
- By clicking on row, client/application information will be shown
API Access tokens
How to create API Access tokens
- Login to dashboard under Administrator account
- Click on API Access tokens on left menu
- Click on ”+” button
- Type the name of API Access tokens filter
- Save it
How to generate API Access tokens
- Login to dashboard under Administrator account
- Click on API Access tokens on left menu
- Click on selected API Access token
- Select required API calls
- Activate API by clicking on Active
- Click on Regenerate token to show API hash string. Please remember it.
- Save it
Note
If you’ve lost or forgotten this token, you can regenerate it, but be aware that any scripts or applications using this token will need to be updated.
How to rename API Access tokens
- Login to dashboard under Administrator account
- Click on API Access tokens on left menu
- Find the selected API Access token and move with the mouse over it. Buttons will be shown.
- Click on button, and rename API Access token
- Save the changes
How to remove API Access tokens
- Login to dashboard under Administrator account
- Click on API Access tokens on left menu
- Find the selected API Access token and move with the mouse over it. Buttons will be shown.
- Click on ”x” button, and delete API Access token
- Confirm delete.
Syslog
How to create Syslog
- Login to dashboard under Administrator account
- Click on Syslog on left menu
- Click on ”+” button
- Type the name of Syslog filter
- Confirm changes
How to set Syslog
- Login to dashboard under Administrator account
- Click on Logger on left menu
- Click on selected Syslog
- Select level of Syslog
- Select File from stream option
- Type path where logs will be recorded
- Save settings
How to rename Syslog
- Login to dashboard under Administrator account
- Click on Syslog on left menu
- Find the selected Syslog and move with the mouse over it. Buttons will be shown.
- Click on button, and rename Syslog
- Save the changes
How to remove Syslog
- Login to dashboard under Administrator account
- Click on Syslog on left menu
- Find the selected Syslog and move with the mouse over it. Buttons will be shown.
- Click on ”x” button, and delete Syslog
- Confirm delete.
Excalibur AD Facade
How to install AD Facade
Installation package is delivered as .msi file for 64bit version of Windows. To install Excalibur AD facade follow steps described in Excalibur AD Facade Manual
How to get logs
Facade's logs are available from Excalibur Dashboard. To get logs from AD Facade follow steps described in chapter How to get logs from Facade